Treasure Map (Tier 3): Difference between revisions
mNo edit summary |
No edit summary |
||
| (2 intermediate revisions by 2 users not shown) | |||
| Line 37: | Line 37: | ||
Only successful rolls yield extra loot. | Only successful rolls yield extra loot. | ||
{{AddLoot|item=Coins|minquantity=1250|maxquantity=5000|rarity= | {{AddLoot|item=Coins|minquantity=1250|maxquantity=5000|rarity=1/5.8}} | ||
{{AddLoot|item=Fire Scroll|minquantity=19|maxquantity=75|rarity=1/10}} | {{AddLoot|item=Fire Scroll|minquantity=19|maxquantity=75|rarity=1/10}} | ||
{{AddLoot|item=Water Scroll|minquantity=19|maxquantity=75|rarity=1/10}} | {{AddLoot|item=Water Scroll|minquantity=19|maxquantity=75|rarity=1/10}} | ||
| Line 50: | Line 50: | ||
{{AddLoot|item=Green Cape|minquantity=1|rarity=1/50}} | {{AddLoot|item=Green Cape|minquantity=1|rarity=1/50}} | ||
{{AddLoot|item=Deadwood Bow|minquantity=1|rarity=1/50}} | {{AddLoot|item=Deadwood Bow|minquantity=1|rarity=1/50}} | ||
{{AddLoot|item=Green Headband|minquantity=1|rarity= | {{AddLoot|item=Green Headband|minquantity=1|rarity=1/66.7}} | ||
{{AddLoot|item=Blue Headband|minquantity=1|rarity= | {{AddLoot|item=Blue Headband|minquantity=1|rarity=1/66.7}} | ||
{{AddLoot|item=Ember Staff|minquantity=1|rarity=1/200}} | {{AddLoot|item=Ember Staff|minquantity=1|rarity=1/200}} | ||
{{AddLoot|item=Hydro Staff|minquantity=1|rarity=1/200}} | {{AddLoot|item=Hydro Staff|minquantity=1|rarity=1/200}} | ||
| Line 61: | Line 61: | ||
{{AddLoot|item=Magician's Cape|minquantity=1|rarity=1/400}} | {{AddLoot|item=Magician's Cape|minquantity=1|rarity=1/400}} | ||
{{AddLoot|item=Archer's Cape|minquantity=1|rarity=1/400}} | {{AddLoot|item=Archer's Cape|minquantity=1|rarity=1/400}} | ||
{{AddLoot|item=Celadon Arrows|minquantity=12|maxquantity=50|rarity= | {{AddLoot|item=Celadon Arrows|minquantity=12|maxquantity=50|rarity=1/666.7}} | ||
{{AddLoot|item=Celadon Full Helm|minquantity=1|rarity= | {{AddLoot|item=Celadon Full Helm|minquantity=1|rarity=1/666.7}} | ||
{{AddLoot|item=Celadon Helm|minquantity=1|rarity= | {{AddLoot|item=Celadon Helm|minquantity=1|rarity=1/666.7}} | ||
{{AddLoot|item=Celadon Chestplate|minquantity=1|rarity= | {{AddLoot|item=Celadon Chestplate|minquantity=1|rarity=1/666.7}} | ||
{{AddLoot|item=Celadon Platelegs|minquantity=1|rarity= | {{AddLoot|item=Celadon Platelegs|minquantity=1|rarity=1/666.7}} | ||
{{AddLoot|item=Celadon Shield|minquantity=1|rarity= | {{AddLoot|item=Celadon Shield|minquantity=1|rarity=1/666.7}} | ||
{{AddLoot|item=Celadon Gloves|minquantity=1|rarity= | {{AddLoot|item=Celadon Gloves|minquantity=1|rarity=1/666.7}} | ||
{{AddLoot|item=Celadon Pickaxe|minquantity=1|rarity= | {{AddLoot|item=Celadon Pickaxe|minquantity=1|rarity=1/666.7}} | ||
{{AddLoot|item=Celadon Longsword|minquantity=1|rarity= | {{AddLoot|item=Celadon Longsword|minquantity=1|rarity=1/666.7}} | ||
{{AddLoot|item=Celadon Battleaxe|minquantity=1|rarity= | {{AddLoot|item=Celadon Battleaxe|minquantity=1|rarity=1/666.7}} | ||
{{AddLoot|item=Celadon Great Sword|minquantity=1|rarity= | {{AddLoot|item=Celadon Great Sword|minquantity=1|rarity=1/666.7}} | ||
{{AddLoot|item=Celadon Hatchet|minquantity=1|rarity= | {{AddLoot|item=Celadon Hatchet|minquantity=1|rarity=1/666.7}} | ||
{{AddLoot|item=Celadon Scimitar|minquantity=1|rarity= | {{AddLoot|item=Celadon Scimitar|minquantity=1|rarity=1/666.7}} | ||
{{AddLoot|item=Gold Diamond Necklace|minquantity=1|rarity=1/2000}} | {{AddLoot|item=Gold Diamond Necklace|minquantity=1|rarity=1/2000}} | ||
{{AddLoot|item=Celadon Full Helm (Purple Plume)|minquantity=1|rarity=1/2000}} | {{AddLoot|item=Celadon Full Helm (Purple Plume)|minquantity=1|rarity=1/2000}} | ||
| Line 135: | Line 135: | ||
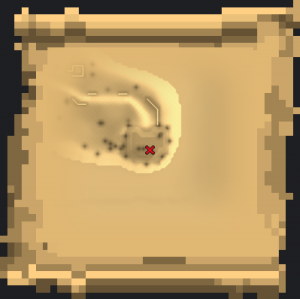
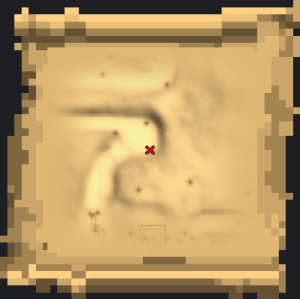
| style="text-align: center;" | [[Goblin Beach]] | | style="text-align: center;" | [[Goblin Beach]] | ||
<code style="border: 1px solid var(--border-color-base) !important; background: var(--bg-contrast) !important;">x: -50, y: -432</code> | <code style="border: 1px solid var(--border-color-base) !important; background: var(--bg-contrast) !important;">x: -50, y: -432</code> | ||
| • [[ | | • [[Wizard's Obelisk Teleport]], then walk south-east | ||
• [[Anglham Teleport]], then walk south | • [[Anglham Teleport]], then walk south | ||
|- | |- | ||
| Line 147: | Line 147: | ||
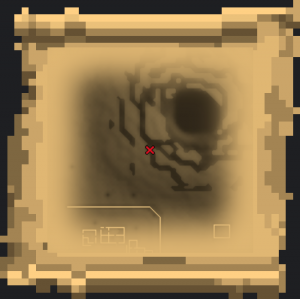
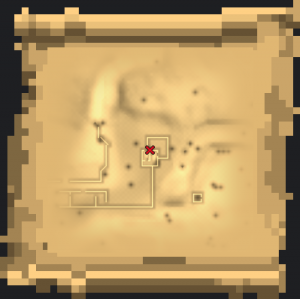
| style="text-align: center;" | [[File:456_x-217_y-319.png|300px]] | | style="text-align: center;" | [[File:456_x-217_y-319.png|300px]] | ||
| {{MapEmbed|xPos=-217|yPos=-319|size=300px|zoom=2|emoji=❌|outline=true|clean=true|coords=-217,-319,Overworld}} | | {{MapEmbed|xPos=-217|yPos=-319|size=300px|zoom=2|emoji=❌|outline=true|clean=true|coords=-217,-319,Overworld}} | ||
| style="text-align: center;" | [[Mount | | style="text-align: center;" | [[Mount Pine]] | ||
<code style="border: 1px solid var(--border-color-base) !important; background: var(--bg-contrast) !important;">x: -217, y: -319</code> | <code style="border: 1px solid var(--border-color-base) !important; background: var(--bg-contrast) !important;">x: -217, y: -319</code> | ||
| • [[Portal Obelisk Teleport]], then walk south-west | | • [[Portal Obelisk Teleport]], then walk south-west | ||
Latest revision as of 17:37, 4 October 2025
| Treasure Map | |
|---|---|
| Inspect | It's a map to a hidden treasure location |
| Equipable | No |
| Can IOU | No |
| Stackable | No |
| Tradeable | No |
| Quest Item | No |
| HighLite Link | [456] |

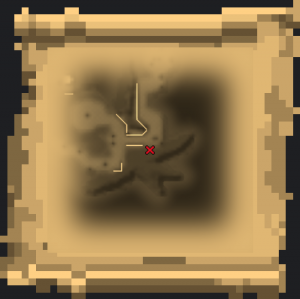
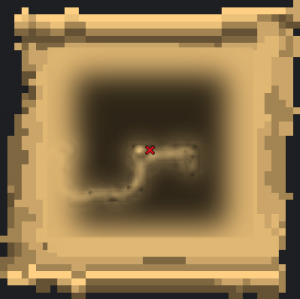
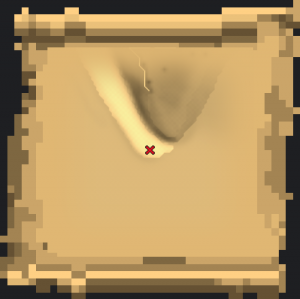
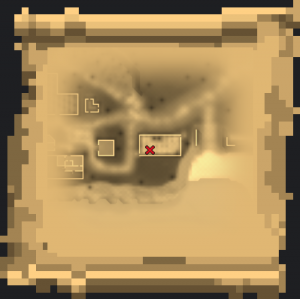
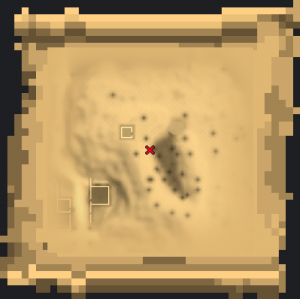
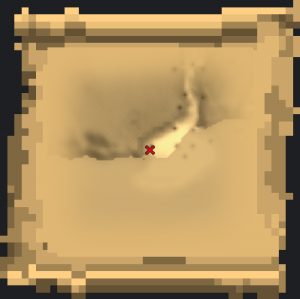
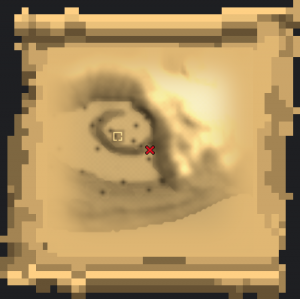
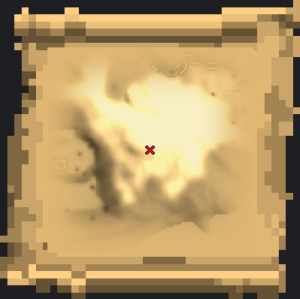
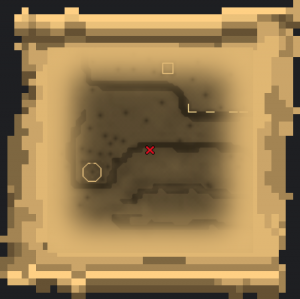
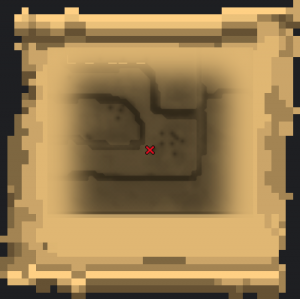
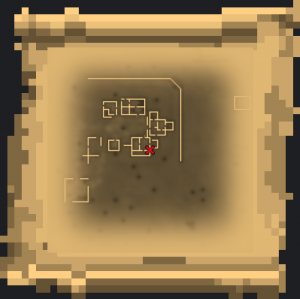
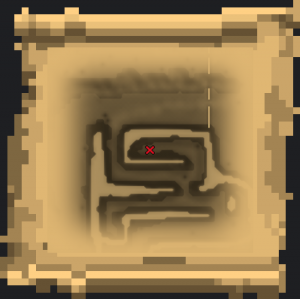
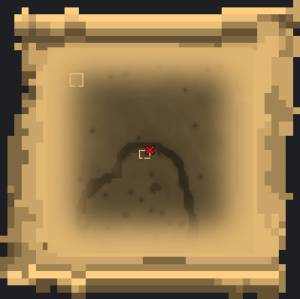
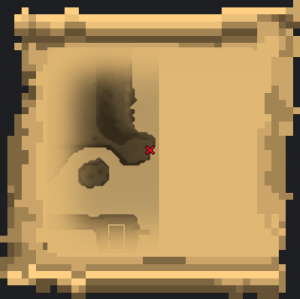
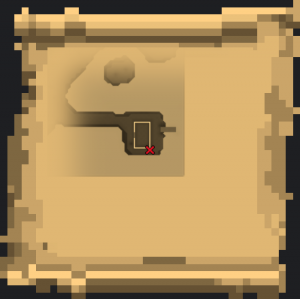
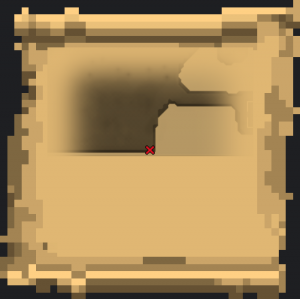
Treasure Map (Tier 3) is a semi-rare item that can be obtained from high level NPCs. Solving a treasure map involves going to the location shown on the map with a Shovel, and digging in the exact spot needed. Make sure to have at least 3-5 open inventory spaces to hold the newly acquired items.
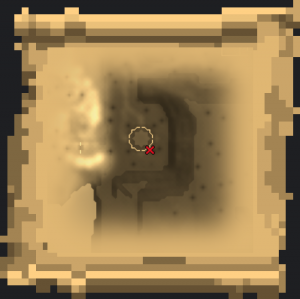
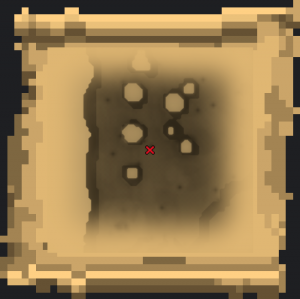
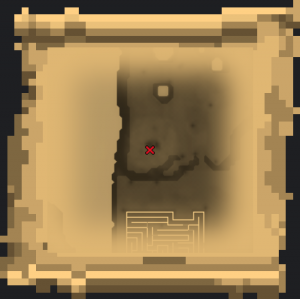
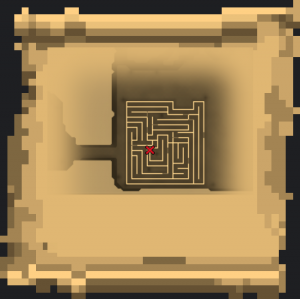
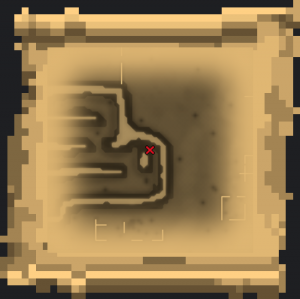
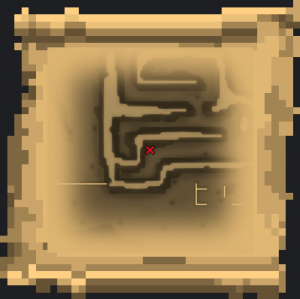
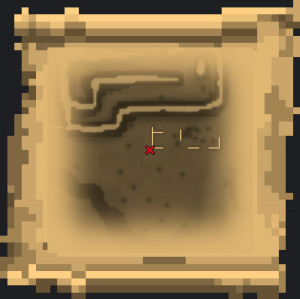
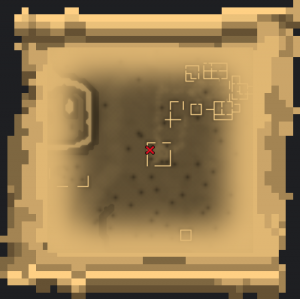
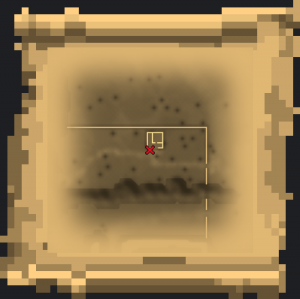
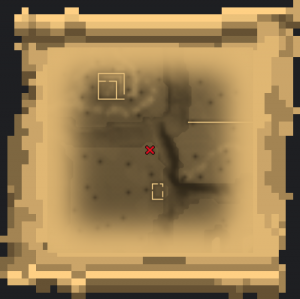
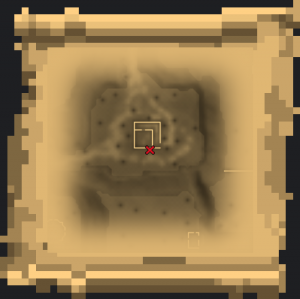
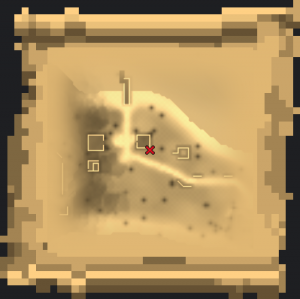
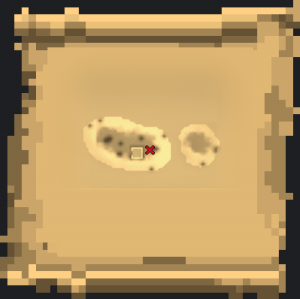
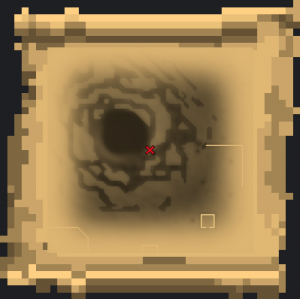
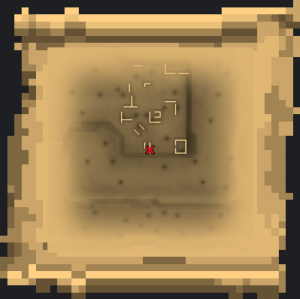
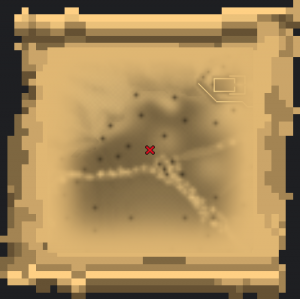
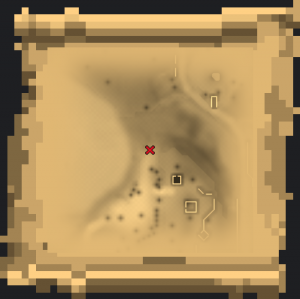
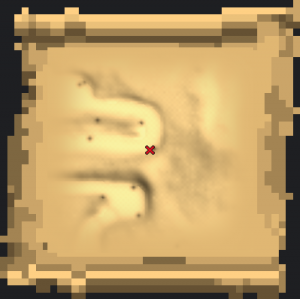
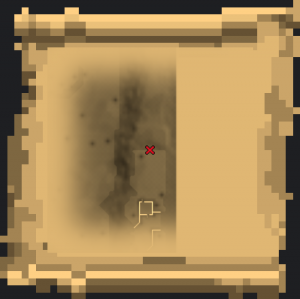
If you need help finding a location, you can view the map below.
You can only possess one singular Treasure Map at a time, whether it's in your inventory or your Bank. This means you can't even hold multiple maps across different tiers simultaneously (e.g., Tier 3 and Tier 2). If a map proves too difficult to reach or complete, it's best to discard it in order to obtain a new one.
If you die while holding a treasure map, regardless of safe slots, it will be destroyed.
Item Sources[edit]
| Source | Quantity | Rarity |
|---|---|---|
| King Goblin Jockey | 1 | 1/40 |
| Damogui | 1 | 1/64 |
| Fire Dragon | 1 | 1/90.9 |
| Elder Knight | 1 | 1/95.2 |
| Cave Bear | 1 | 1/100 |
| Hell Giant | 1 | 1/111.1 |
| Water Dragon | 1 | 1/111.1 |
| Corrupt Minotaur | 1 | 1/128 |
| Hell Warrior | 1 | 1/200 |
| Minotaur | 1 | 1/200 |
| Plains Dragon | 1 | 1/200 |
Wastelands Increased Drop Rates[edit]
The Wastelands are the only area in HighSpell that offer increased Treasure Map drop rates. Monsters here (excluding Damogui) have a 20% higher chance to drop Treasure Maps[1], rewarding those who brave the risk.
Base Rewards[edit]
A Treasure Map (Tier 3) always contains the following item(s)
| Item | Quantity | Rarity | Value | |
|---|---|---|---|---|
| Coins | 5,000 | Always |
5,000 | |
Potential Rewards[edit]
A Treasure Map (Tier 3) grants five additional loot rolls upon completion. Each roll has a chance to succeed, with the following success rates (in order):
- 1st roll: 100%
- 2nd roll: 50%
- 3rd roll: 50%
- 4th roll: 25%
- 5th roll: 25%
Only successful rolls yield extra loot.
Possible Solutions[edit]
Mapped Locations[edit]
For a bookmark-friendly page with just the Tier 3 locations mapped out, see → Treasure_Map_(Tier_3)/Locations
